
Getting Started
This section will explain how to get started with the latest version of Unending Galaxy, provided you haven't played the game (much) yet. It assumes that you kept the default key bindings. Before the game begins, be sure to review the video and sound options. You do not need to restart a running game though, it is possible to change the settings also in-game.
Starting A New Game
Clicking the New Game button leads to this menu:
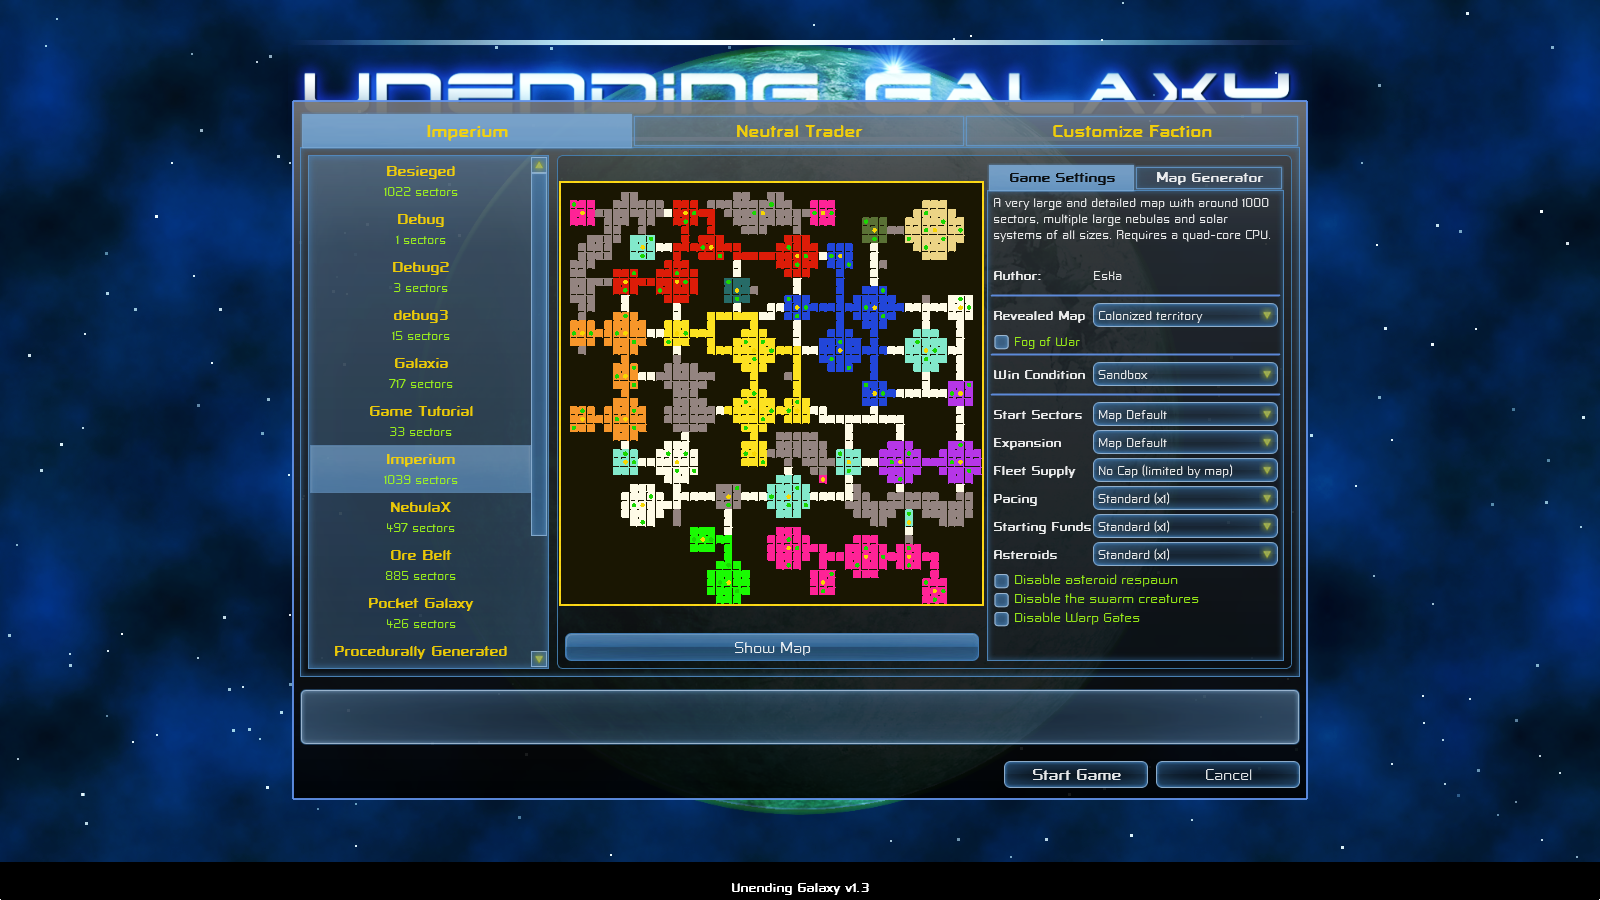
The first tab (Map Selection) is used to select the galaxy map and the General Settings for the game, like Fog of War, pacing of the game etc. and to alternatively generate a new map in the Map Generator. Default values are good enough for a first game. Once you are a bit more familiar with the game's interface and gameplay, you may want to reevaluate these settings and tweak them to your liking.
When you hover your mouse over a setting, the textbox at the bottom serves as the context help panel to give you more information about it.

The second tab (Starting Scenario) is where you can select a starting scenario. The free version of the game only offers a handful scenarios, but the paid version has much more. The default scenario is Neutral Trader and it's a good place to start your first game. Other available scenarios give tailored starting positions for pirates, mercenaries and empire leaders.
The box at the right side shows the basic features for each selected scenario in terms of in-game starting conditions and the box at the bottom shows a brief summary of the scenario.
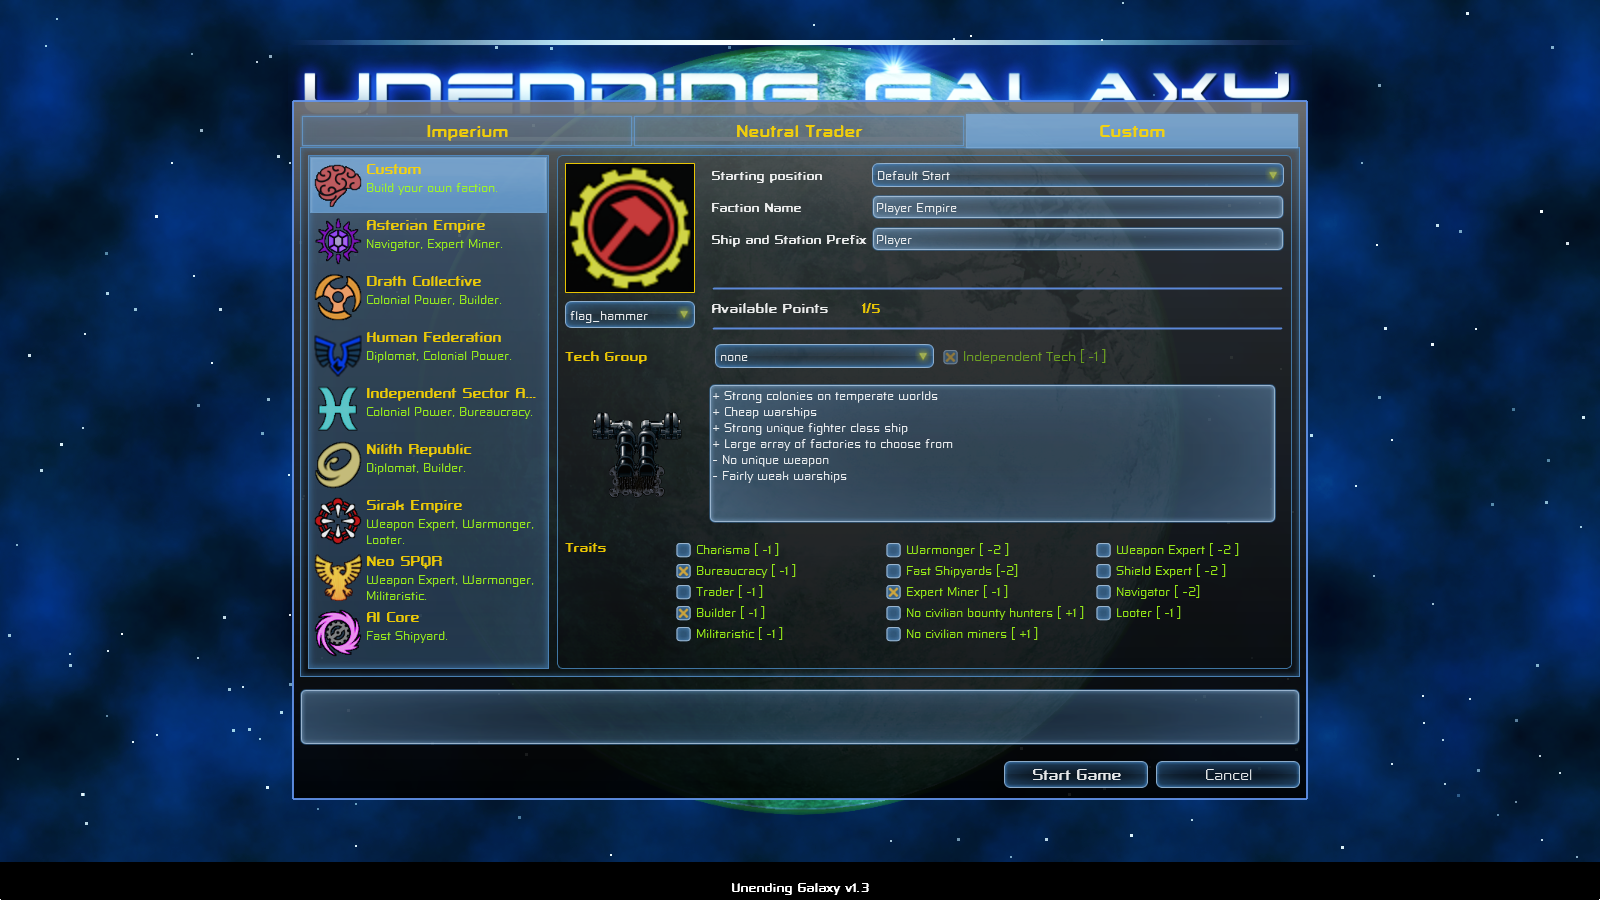
The third tab (Customize Faction) is used to name and customize your faction. Each scenario comes with its own preset which you can alter and tweak here at your leisure. You have 5 points to spend between your Tech Group and your Faction traits.
Tech Groups represent the list of docks, weapons and ships you can build yourself. They become relevant once you have your own Dock Building Ship or Shipyard. Some groups cost more than others. The box explains the specifics of each one in a summary of positive and negative points.
Faction Traits are a wide range of small changes you can apply to your faction.
Again, when you hover with your mouse over a setting, the textbox at the bottom serves as the context help panel to give you more information about it.
Alternatively, instead of customizing your own faction, you can opt to play as one of the already established factions. In that case, you will start with everything the selected faction has on the map you've chosen previously.
Quick Summary
Given you've used the default Neutral Tader scenario, you'll start around one of the ISA capital planets with a Fighter and a Cargo Ship. The ISA (Independent Sector Alliance) is a neutral faction managing multiple solar systems around the galaxy. The galaxy is home to multiple other factions that can colonize and conquer Sectors. Factions usually have various Factories producing Goods from other resources. Goods are bought and sold at Trading Stations. ISA systems tend to be large trading hubs.
Unending Galaxy's map is divided into large Sectors. Groups of Sectors can be part of solar systems or nebulae. Solar systems are interlinked by corridors and crossroads of Sectors. You can fly your way from one Sector to the next by approaching the border of the current Sector (i.e. the edge of the screen) when flying long enough in one direction. Long distances can be traveled quickly using Warp Gates and jump-drives. Not all Sectors are colonized at first. Factions will expand over time.
Main User Interface

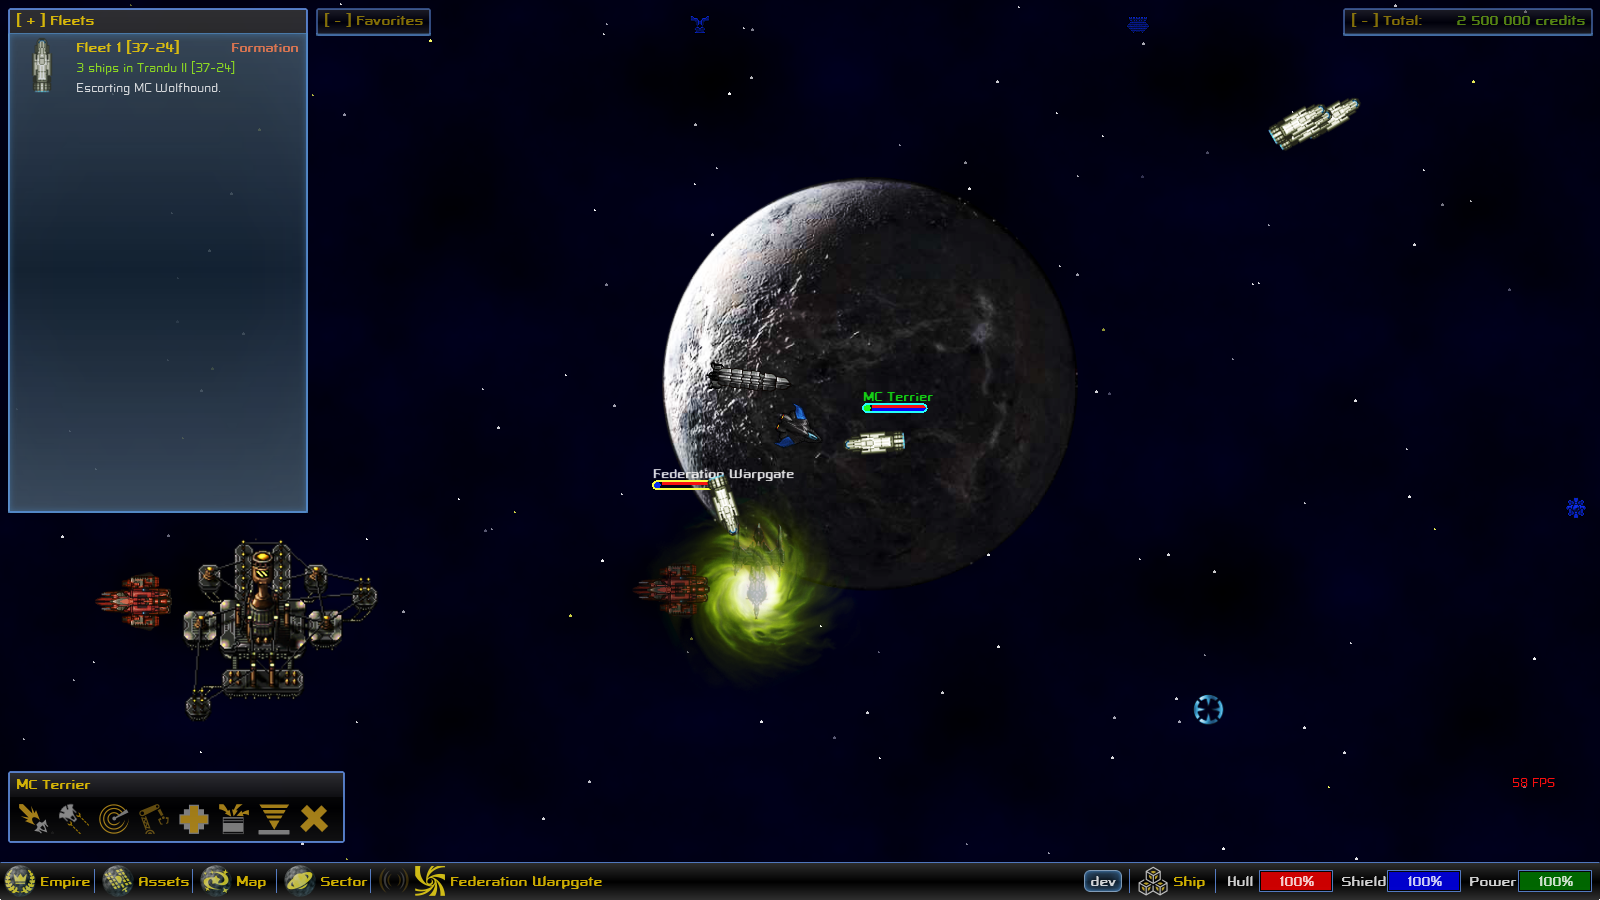
This is the main view. In the bottom-right corner are your shield (blue) / hull (red) / energy (green) indicators. Shields charge over time. Hull damage can be repaired at shipyards, military and pirate bases. Energy is used when firing weapons and when shields are charging. In the top left corner are located buttons used to access the main commands, and two lists, the fleet panel and bookmarks. They are used to keep track of your empire. We'll get around that later, right now you only have 2 ships. Buttons in the bottom left appear when you have selected ships of your own. They are used to give quick orders to individual (or group of) ship(s).
You can move around with the WASD keys. W and S are used to accelerate and slow down. A and D to turn left and right. Use the left mouse button to select objects, clicking your own ship clear the selection. The right mouse button is used to open fire.
The camera is centered on your current ship. You can center the camera on your current target by pressing [T] (for target). Use [R] (reset) to reset the camera. You can zoom-in and zoom-out with either your mouse wheel or with the [Page.Up] and [Page.Down] keyboard keys. Zooming back far enough will toggle between this standard view and the current Sector's map. Alternatively, you can press [TAB] at any time to toggle between the two.
Main Menu
Located at the bottom of the screen are the more important buttons:
 | [F1] : This button will open the Empire Manager. This menu centralize all the information about your empire. From it you can manage it, conduct diplomacy, read your journal, the galactic news, check your missions and monitor other empires |
 | [F2] : Toggles the Asset List. This screen shows everything that's under your control (ships, factories and stations). |
 | [F3] : Toggles the Galactic Map. This screen shows the whole explored galaxy. You can apply various filters to the map and use your jump-drive from this screen. |
 | [F4] : Toggles the Sector Info panel with a summary of the current or selected Sector. This panel can also be used to check the prices when you have some cargo to sell. |
 | [X] : This button is used to open your Ship Setup Menu. From this screen you can check your status, equip weaponry and shields and manage your inventory. |
 | [E] : This is the Interact key. It is a context sensitive action and the icon changes accordingly. If you have a 3rd party ship selected, you'll open the Comm Channel, if it's a station, the Trading Interface will be opened instead. If it's one of your ship you'll open the Cargo Transfer menu. This button is also used to use warp gates. |
 | [Q] : If a 3rd party ship is selected, it will open the Ship Scanner menu. If it's one of your own ships or stations, it will open the related setup menu. |
Navigation
As explained previously you move with the WASD keys and to move from a Sector to the next, simply move your ship to the corresponding side of your Sector and you'll be moved to your destination. Note that you can move diagonally. Use the galactic map To get an overview of the general map layout.
Factions will gradually build Warp-Gates around capital planets and other points of interest. Those gates allow you to travel from one to another instantly. To use one of those, select it with your mouse and press the interact key ([E]), or the corresponding button in the main menu. You cannot use the warp gates of factions you're at war with.
Most ships are also equipped with a short-range jumpdrive, allowing you to travel to any location in a 3 to 6 Sectors radius depending on your ship and traits. You can either toggle the Galactic Map or press the [J]ump shortcut key to use the jumpdrive. Sectors colored in green are the possible locations. Left click a Sector to jump there. It takes about 10 seconds to complete a jump. Movement is impeded during jumping operations. Once the jump is complete, it takes between one minute and two for the engine to recharge before the next jump. If you have friendly followers, they will jump automatically after you.
By using a combination of warpgates and jumps you can pretty much join any important place of the galaxy quickly.
Combat
Combat is fairly straightforward, right click to shoot, left click to select a target. Some weapons, like missiles, need a target to be selected to work properly. You can also use the [space] key to select the nearest enemy ship, which is handy when dealing with multiple hostiles.
The game features an active pause in which you can pause the game and still issue orders. To toggle the active pause press the [Z] key.
It can be useful to understand a few rules of the game world to understand how combat works properly:
Unending Galaxy has no ammo based weapons, nor fuel management for that matter. All weapons, including missiles, need energy to function properly. Energy is produced by your ship's battery. If you're out of it you won't be able to shoot and your shield charging rate will be lowered.
Fighters are dirt cheap and more fragile than in many similar games. A couple hits from even low grade weapons will destroy them. Carriers can even replenish their hangar bays freely (as do military bases over time) at repair stations. They are agile, but lasers and area of effect weapons can make very short work of many of them in a couple seconds. Basically fighters are ammunition grade.
Attacking random ships in a colonized solar system can be dangerous. Depending on your target, a price may be put on your head. Let the bounty grow too big and police ships and bounty hunters may hunt you down. Bounties can be cleared at pirate bases, by asking to police ships, or directly from your ship's setup menu.
Endangered ships will call for help. Depending on alliances, laws and other factors other ships may want to protect your target.
That said, your starting Silverblade is a decent light cruiser, it's quite fast, has 3 large class weapons slots and 3 large shield slots. Granted you can decently dodge missiles and bullets you can hold your own against a couple frigates or multiple corvettes as long as you keep an eye on your shield levels. Starting weapons are semi randomized at start, so it's likely you find better weapon combos later on.
Weapon systems have friendly-fire settings. By default direct weapon hits will only impact hostiles in addition to the object you currently have selected. However area of effect damage are still in effect for everyone in the area. You can change the setting in your ship's setup menu with [X].
Handling Multiple Ships
This is when the active pause [Z] key and the top 'Fleets' menu become handy.
The left mouse button handles all object selecting methods. You can directly click a ship to select it, the interact button will change accordingly. You can select multiple ships you own by holding the button and moving the mouse to draw a rectangle, release to select. Selected ships can be put into groups you can recall with the press of a key. You can clear the selection by clicking your own ship or by pressing the [-] key (num.pad).
You can also press the Numpad [+] key to select all your ships in the current Sector. hold [Ctrl] and [+] to select military ones only.
As an exercise takes control of your Silverblade, select your cargo ship. Add it to the first group by holding [ctrl] and the number [1]. You can now select your cargo ship at any time by pressing [1].
Groups are numbered 1 to 10 and can be recalled by pressing the relevant key (0 key is group 10). Those groups are called fleets, and can be monitored in the fleet panel. Hovering the mouse on the panel expands it automatically, you can pin it clicking the [-] symbol in front of the title. It displays you a rundown of the location and orders of each one of your fleets. Double clicking a fleet in the list will center the camera on the leader of the said fleet, simple click will select it.
Direct orders can by given to your current selection either by using the related bottom left menu or with the quick keyboard shortcuts: you can order them to protect you with the [F]ollow key, order them to [P]atrol the Sector, or [K]ill your current target. In instance, you can press [1],[K] to order your first fleet to attack your target. Press [H]alt to order selected ships to stop current orders. Orders can be queued by holding [shift].
Sector Map
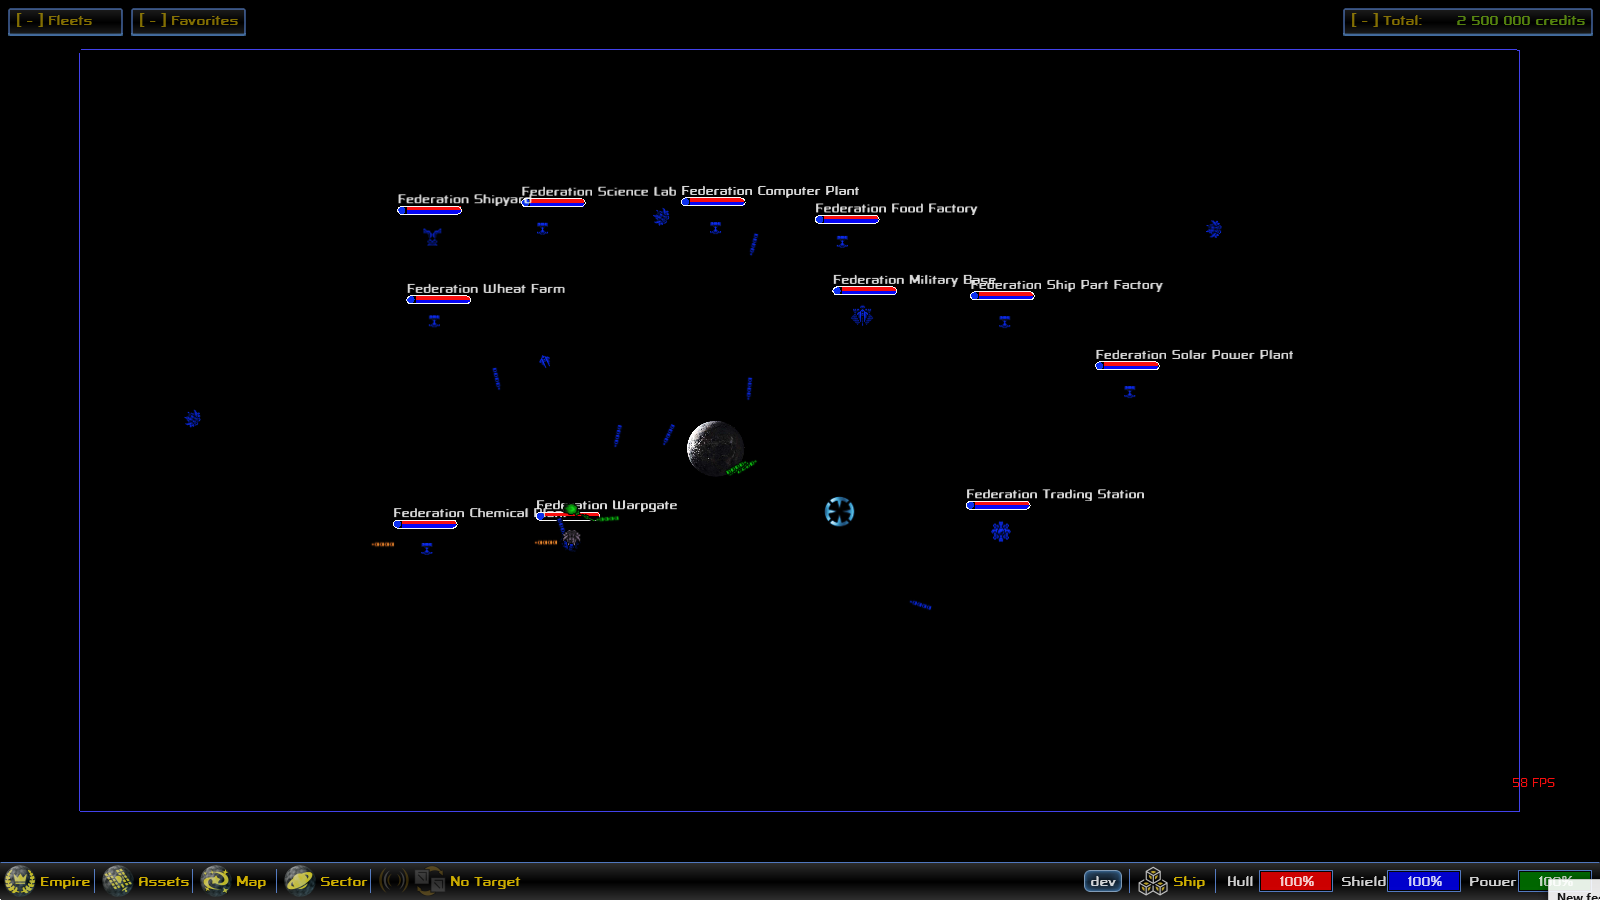
The Sector Map is accessed with [Tab] and shows an overview of the current Sector. From there, you can manage your ships the way you would in a RTS (real time strategy) game. In this mode, you keep control of your main ship movements, however you cannot manually shoot (automatic weapon fire can be enabled in your ship's setup menu). Stations and ships are shown as icons (each ship class has a different icon, same for stations), colors denote the faction of each object.
Green ships are yours while all the light blue ones belong to the ISA.
Selection works the same way on the Sector map, and the right mouse button is used to give orders to your currently selected ships, it's context sensitive. A right click on empty space will order selected ships to move there. Hold [ctrl] to issue an attack-move order instead. With this order ships move toward the destination and engage hostiles encountered. Right click a third party ship to order your ships to attack it. Doing it on one of your own will order your ships to escort it instead.
Orders can be queued by holding the [shift] key.
Order Menu
In all view modes (standard, Sector map, and galactic map), you can give orders to individual or group of ships through the order menu. To do so, select some of your ships this panel will appear on the bottom left of the screen:
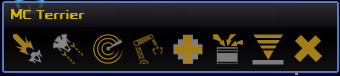
From left to right
- Move - Once pressed, right click on the destination and your selected ship(s) will move there. If you right click on a ship or station, they will escort/protect it.
- Attack - It works the same way, if you right click empty space, you'll issue an attack/move order.
- Patrol - Orders ships to patrol a Sector
- Build - Enabled on dock builders only. Open the station building menu.
- Repair - Send your ships to seek repairs at a friendly dock.
- Collect - Asks selected ship to collect all cargo pods in a given Sector.
- Dock - Asks selected ships to dock at the destination, if possible
- Halt - Cancels current orders.
Making Money

At first, the surest way to make money is to use your cargo ship as a trader. While you can do that yourself, you can delegate easily. Individual ships can be given specific AI packages in their setup menu. Start by finding a decent and friendly solar system with no nearby pirate base and avoid Sirak systems as well, they don't consider raids on 3rd party traders illegal.
Once such a system is found, open your cargo ship's setup menu. Click on the button to choose a home-Sector, select any Sector of the system you want to trade in. Then select the free trader AI package. Your cargo ship will then start buying low and selling high in the selected solar system automatically. Check the free trader information page for more information on how to use them effectively.
Free traders are good money earners, you'll quickly be able to buy more ships and turn them in additional traders and escort ships.
Meanwhile you can use your Silverblade to explore, dabble in bounty hunting, bounties are listed when interacting with shipyards. You can also scavenge cargo pods from fights or do regular cargo missions. You can also join the pirate faction, with the added bonus of making your free traders less likely to be hit by pirates.
Communication and Missions
Whenever you have a third party ship or station selected you can press the interact key [E] to open the communication channel. Stations offer various services like repairs, trading or ship building. You can also get missions there. Ship pilots may want to buy some of your cargo or offer missions (ships under attack will ask for your help). If you cross the authorities, police ships will request you to pay a fine to leave you alone.
Notes
Unending Galaxy is a dynamic open world, and you can go pretty much any way you please about your business. Over time you will get wealthier, expanding what you can do, build your own stations and fleet, colonize Sectors, make alliances, wage war. The world around you will change over time and other factions do the same as you.
Missions are generated based around what is going on in the galaxy. In instance, bounty missions are generated based on the actual bounty of actual ships existing in the universe before you accepted the mission. As such, you may fail missions for the simple reason that your target has been killed by other bounty hunters or by the police. Also, it can take a few minutes for the game to generate the first missions.
During the first minutes of the game you'll see a lot of cargo ships (too many, in fact) from all races moving around in a confusing fashion. It only lasts for a couple minutes, the time for the economic system to fully kick in and balance itself properly. Here again this is due to the dynamic nature of the simulation.
